The Perfect Drain: Mastering Oil Change Techniques Without Mess
Why a Mess-Free Oil Change Matters
Changing your car’s oil doesn’t have to mean stained driveways or greasy tools. A clean oil change saves time, protects the environment, and keeps your workspace safe. Many DIYers dread the inevitable spills, but with the right approach, you can turn this chore into a streamlined process. Beyond aesthetics, minimizing mess prevents slippery hazards and reduces the risk of contaminating soil or waterways. Let’s explore how to elevate your oil change routine from chaotic to clinical.
Essential Tools for a Spotless Job
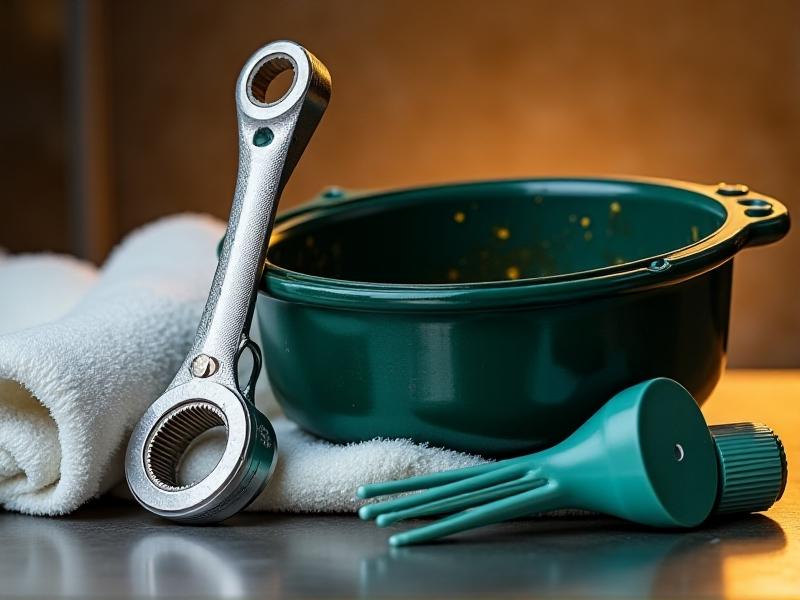
Start by curating your toolkit. A high-capacity drain pan with a splash guard is non-negotiable—look for one with graduated volume markings. Pair this with a quality oil filter wrench that grips without slipping. Add a funnel with an extended neck to reach tight filler holes, and don’t skimp on heavy-duty nitrile gloves. Pro tip: Keep a pack of shop towels and a magnetic parts tray nearby for small components. These tools aren’t just about function—they’re your first defense against leaks and drips.
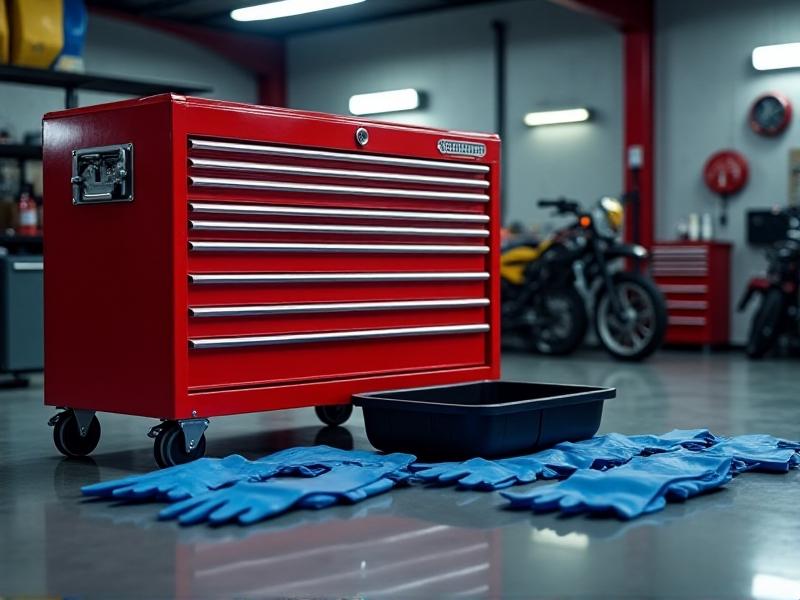
Preparing Your Workspace Like a Pro

Your workspace sets the stage for success. Begin by parking on level ground and laying down reinforced cardboard or commercial absorbent mats—these catch stray drips better than newspaper. If working indoors, ensure ventilation by opening garage doors. Position your tools in a logical workflow sequence: drain pan closest to the oil plug, filter wrench within arm’s reach, and new oil bottle near the filler cap. This spatial planning minimizes frantic movements that lead to accidents.
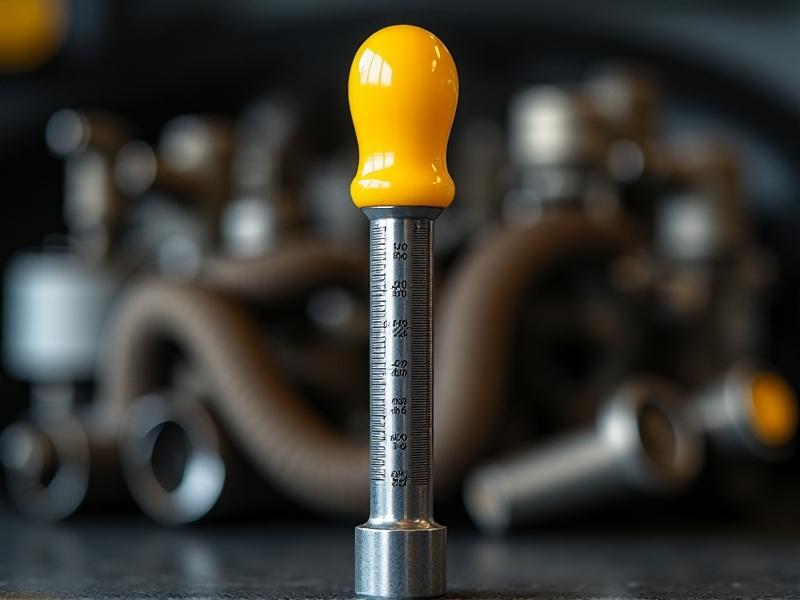
Selecting the Right Oil and Filter Combo

Choose oil viscosity based on your owner’s manual, not guesswork. Modern synthetic blends often flow cleaner during changes. For filters, prioritize those with silicone gaskets—they seal better than rubber counterparts. When comparing brands, look for filters with anti-drainback valves to keep oil in the engine post-change. This attention to quality pays off in cleaner operation and reduced drip potential during your next maintenance cycle.
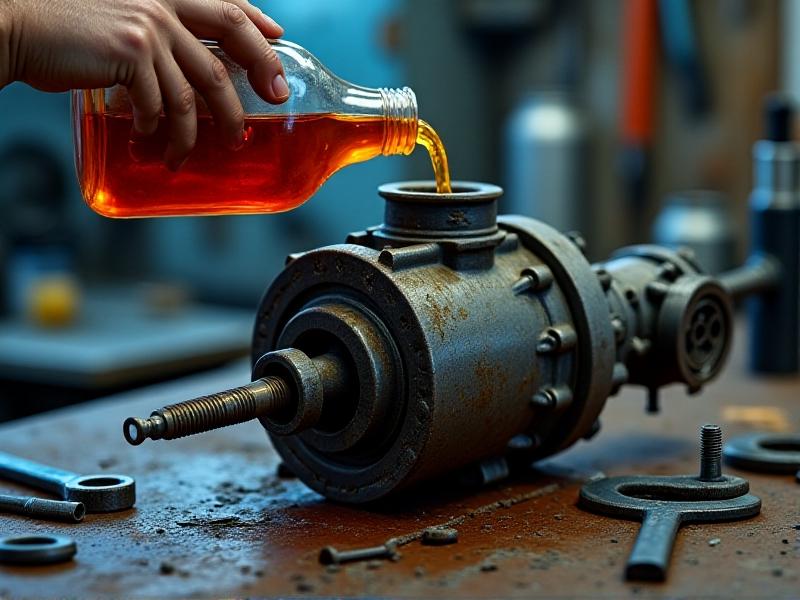
The Art of Clean Draining: Step by Step
Warm your engine for 5 minutes—this thins the oil for faster drainage but avoids scalding temperatures. Position your drain pan directly under the plug, then use a six-point socket for secure grip. As you remove the plug, maintain upward pressure to control the initial surge. Let the oil cascade into the pan’s center, adjusting the pan position as the flow slows. This controlled approach prevents the sideways splatter that occurs when oil hits pan edges at an angle.
Outsmarting Common Spill Scenarios
Most spills occur during filter changes. Combat this by first puncturing the filter’s dome to drain residual oil into your pan. When installing the new filter, lubricate the gasket with a finger-swiped oil coat—this prevents dry seals from binding. For filler cap mishaps, use a funnel with a built-in screen that catches wayward streams. If you’re working on trucks with vertical filters, try the plastic-bag trick: slide a bag around the filter before removal to contain drips.
Mastering Drain Pans and Funnel Hacks
Not all drain pans are created equal. Seek models with a wide, ribbed base to prevent tipping. When pouring used oil into containers, use a pan with a locking spout that directs flow precisely. For stubborn oil bottles that glug, try this: insert a clean drinking straw alongside the funnel to break air pressure. This simple hack creates a vent for smooth pouring. Remember to pre-stage your oil container’s pour path—lifting a full pan over fenders invites disaster.
Post-Change Cleanup: Beyond the Basics
After draining, immediately wipe the drain plug and surrounding area with a brake cleaner-soaked rag. This removes residual oil that could attract dirt. For spilled droplets, sprinkle cornstarch—it absorbs oil without the clumping seen with traditional absorbents. When disposing of used oil, transfer it using a sealed container with a screw-top lid. Many auto shops offer free recycling; call ahead to confirm they accept both oil and filters. Proper disposal closes the loop on your clean routine.
Rescuing Botched Changes: Quick Fixes
Stripped drain plug threads? Don’t panic. Keep a thread repair kit handy—most auto stores stock universal thread restorers. For over-tightened filters, a band-type wrench provides superior grip without crushing the casing. If you’ve accidentally double-gasketed a filter (a common leak source), use a plastic trim tool to carefully pry off the stuck gasket. These recovery techniques transform potential disasters into minor hiccups.
Maintaining Pristine Conditions Long-Term
Preserve your clean streak with quarterly undercarriage inspections. Use a pH-balanced degreaser for periodic engine bay wipe-downs, focusing around the oil pan and filter. Consider installing a Fumoto drain valve—its lever-operated design eliminates tools altogether. For frequent changers, a dedicated oil change caddy with labeled compartments ensures tools never go missing. These habits compound over time, making each successive oil change cleaner than the last.