```html
Why Torque Sequence Matters: Protecting Your Wheels and Safety
When tightening lug nuts, the order in which you apply force is just as critical as the torque specification itself. A haphazard approach can lead to uneven pressure distribution across the wheel hub, causing warping or even catastrophic failure. Modern vehicles rely on precision-engineered components, and the wheel assembly is no exception. Warped hubs or brake rotors result in vibrations, uneven braking, and accelerated wear—problems easily avoided by following a proper torque sequence. This isn’t just about mechanics; it’s about ensuring safety for everyone on the road.
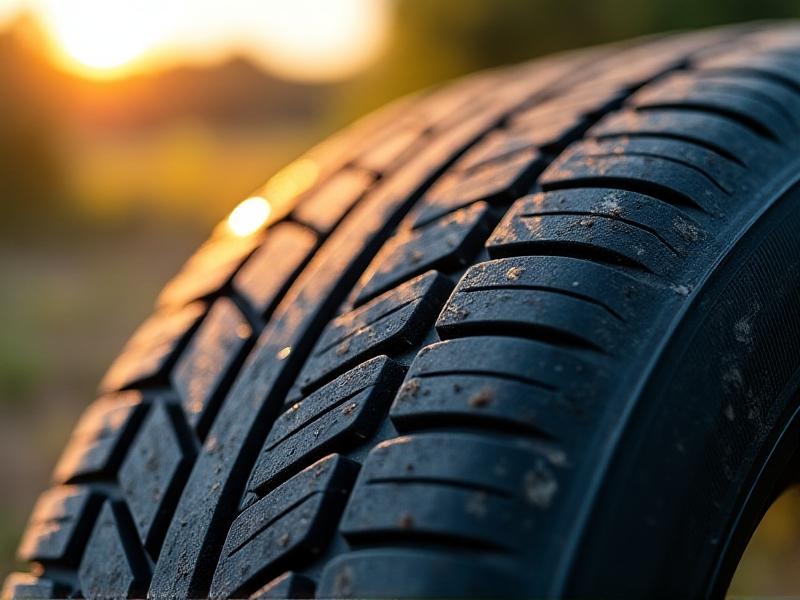
The Basics of Lug Nuts and Warping: What You Need to Know
Lug nuts secure the wheel to the hub, creating a uniform seal. When tightened incorrectly, the wheel can sit unevenly against the hub surface. Over time, heat from braking and stress from road conditions exacerbate minor imbalances, leading to warping. This distortion compromises the wheel’s structural integrity and affects adjacent systems, such as brakes and bearings. Understanding this chain reaction underscores why a methodical torque sequence isn’t optional—it’s a non-negotiable step in responsible vehicle maintenance.
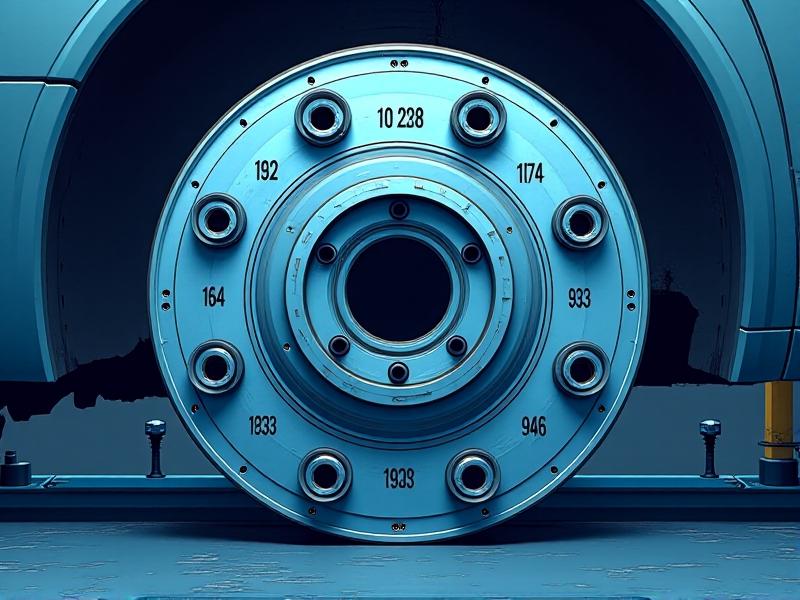
The Star Pattern: A Universal Solution for Even Pressure
The star (or crisscross) pattern is the gold standard for torque sequences. By tightening lug nuts opposite one another—like drawing lines between points on a star—you distribute force evenly around the wheel. For a 5-lug wheel, this means tightening nut 1, then skipping to nut 3, followed by nut 5, and so on. This method prevents localized stress points, ensuring the wheel sits flush against the hub. Whether you’re a DIY enthusiast or a professional mechanic, mastering this pattern is essential for maintaining vehicle performance and longevity.

Step-by-Step Guide to the Correct Torque Sequence
Start by hand-tightening all lug nuts to ensure the wheel is seated properly. Using a torque wrench, apply 50% of the recommended torque in the star pattern. Repeat the sequence at 100% torque, double-checking each nut. Never torque in a circular order—this creates uneven tension. For wheels with even or odd numbers of lugs, adapt the star pattern by always working diagonally. Consistency is key: always refer to your vehicle’s manual for exact specifications, as torque values vary by make, model, and wheel material.
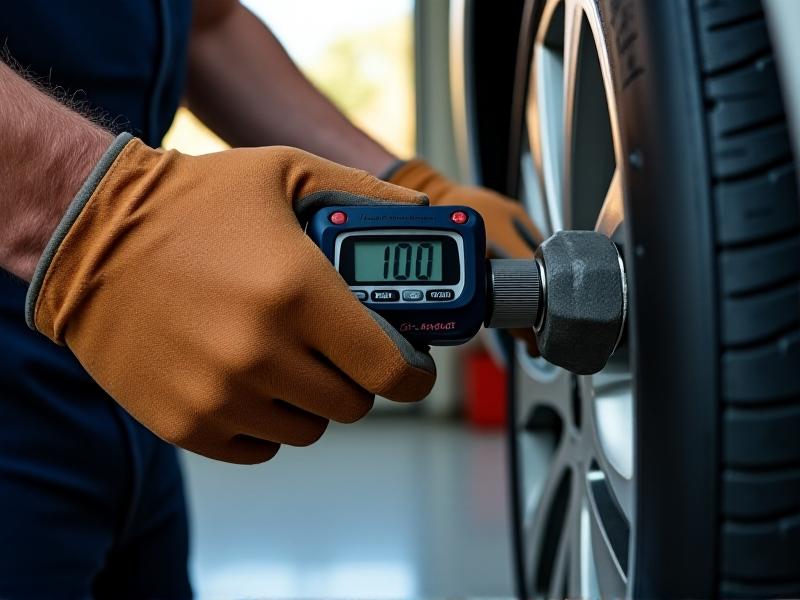
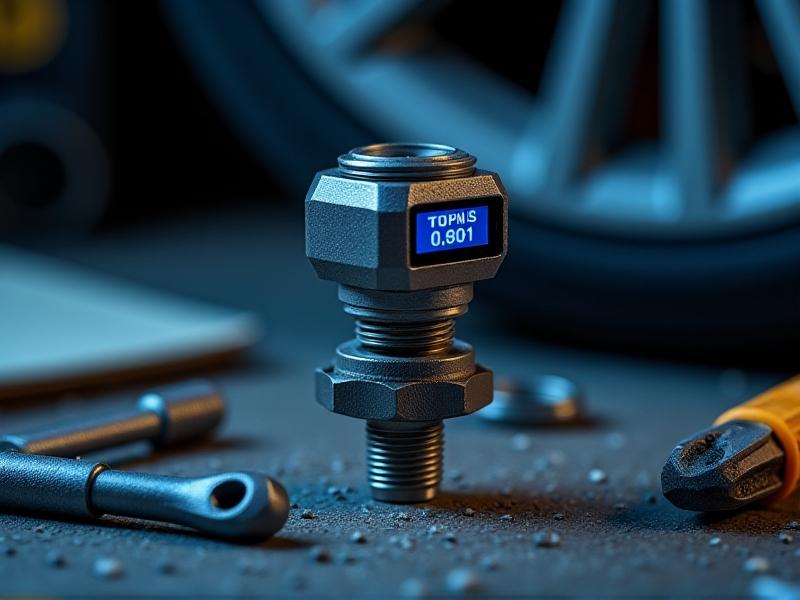
Tools of the Trade: What You’ll Need for Proper Torquing
A quality torque wrench is non-negotiable—avoid guesswork with outdated tools. Digital torque wrenches provide audible alerts when the desired torque is reached, reducing human error. Pair this with a reliable lug nut socket that fits snugly to avoid stripping. For frequent use, consider a torque-limiting extension bar. Don’t forget anti-seize compound for threads, but apply sparingly—excess lubricant can falsely increase torque readings. Store tools in a dry environment to maintain calibration and accuracy.
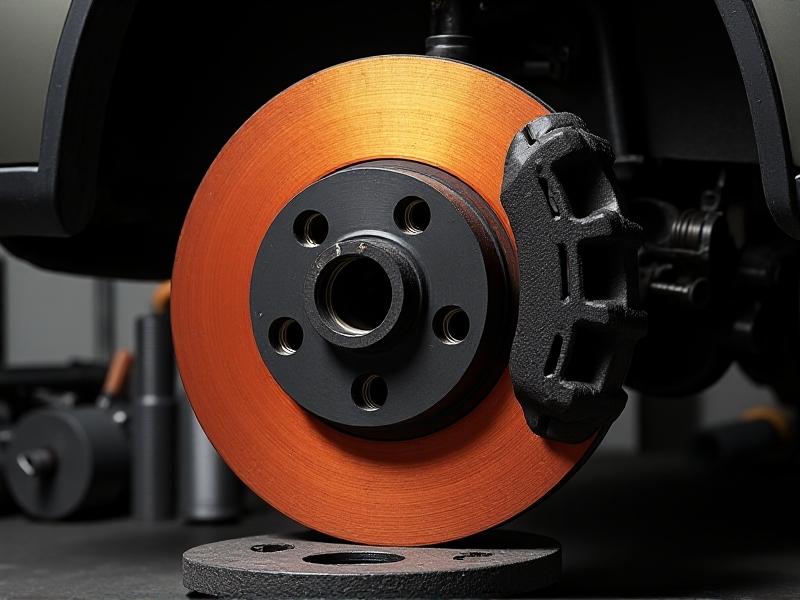
Consequences of Ignoring the Torque Sequence
Skipping the proper sequence risks warping brake rotors, leading to pulsation during braking. Uneven pressure can also stretch or snap lug studs, resulting in wheel detachment. Insurance may deny claims stemming from improper maintenance, leaving you liable for accidents. Even minor warping accelerates tire wear, costing hundreds in premature replacements. These aren’t hypotheticals—mechanics routinely see avoidable repairs caused by rushed or incorrect torquing practices. The few minutes saved aren’t worth the financial or safety repercussions.
Expert Tips for Maintaining Wheel Integrity Over Time
Recheck torque settings after 50–100 miles post-installation, as settling can loosen nuts. Use a torque stick with impact wrenches to prevent over-tightening during tire rotations. For alloy wheels, opt for lower torque ranges to avoid cracking. Seasonal temperature changes affect metal contraction—adjust torque slightly in extreme climates. Label storage containers for lug nuts by torque spec if you own multiple vehicles. Finally, educate anyone who handles your wheels, from tire shops to valet services, about your torque preferences.
Final Thoughts: Precision as a Practice, Not an Afterthought
Proper lug nut torquing isn’t just a task—it’s a commitment to precision that echoes through every component of your vehicle. By adopting the star pattern and investing in the right tools, you protect both your investment and your safety. Vehicle engineering thrives on harmony between parts; something as simple as a torque sequence ensures that harmony remains unbroken. Whether you’re a weekend driver or a seasoned gearhead, let meticulousness define your approach to automotive care.